First login
First Login
After completing the VM configuration procedure in the chosen hypervisor, start the Central Manager and Smart Poller VMs.
The following configuration steps must be performed on both the Central Manager and the Smart Poller. Startup can take from a few seconds to some minutes.
It is recommended that the startup process is checked through the hypervisor console.
Once the VM is started, the following screen with a login prompt will be displayed:
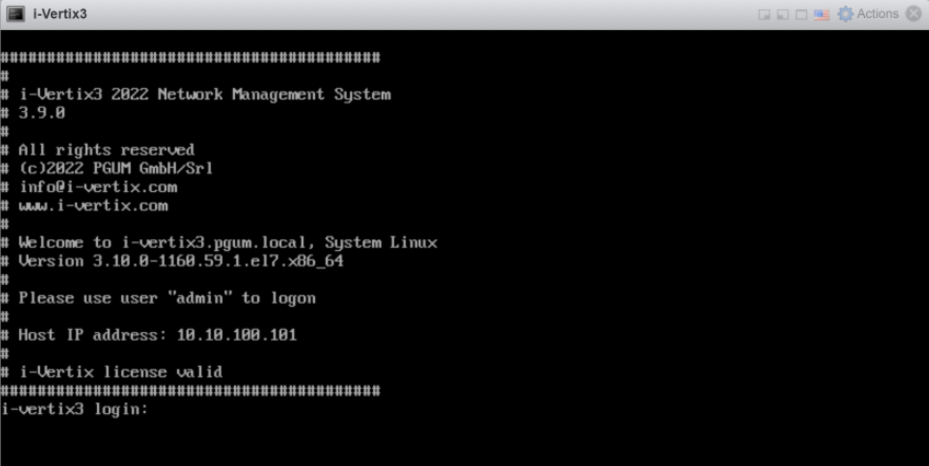
You will need to log into i-Vertix Monitoring console to configure the network settings, using the following credentials:
User: 'admin'
Password: 'password' (to be changed as soon as possible)
If you fail the login process three times, the IP Address will be blocked for 30 minutes (see fail2ban).
After the authentication, a menu that allows you to configure the next steps is displayed
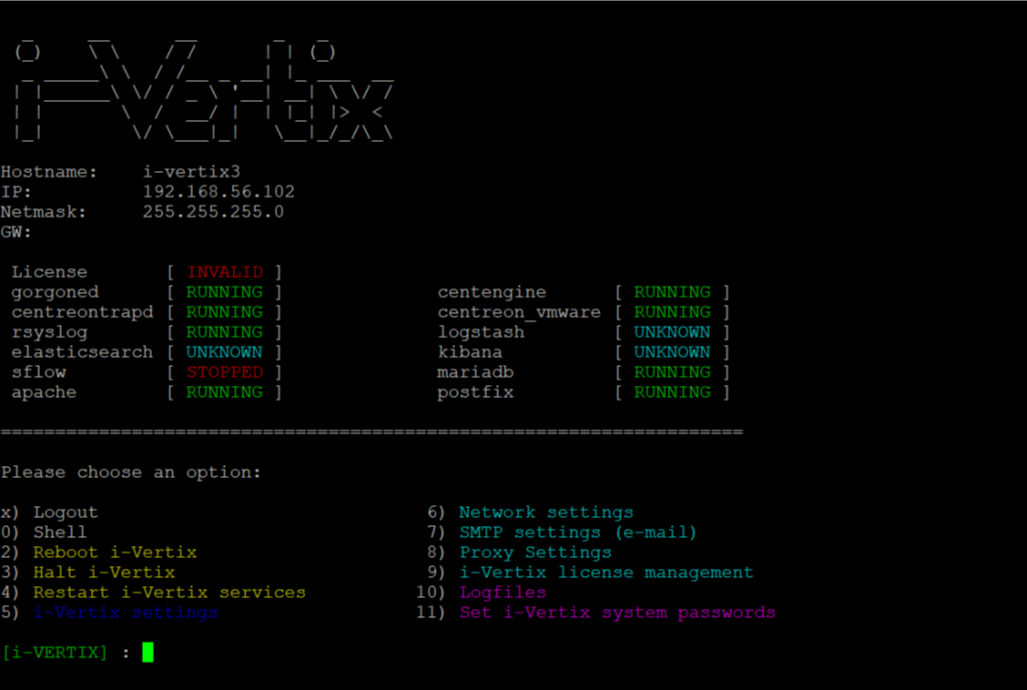
Note: If the menu doesn’t appear automatically at startup, simply type on the console the command
menu.
The first task to be completed must be the network configuration
NOTE:
Please be sure the technical information are done
Check that DNS is working
Type ping www.google.com and verify that the output returns Google IP Address, for example:
ping www.google.com
PING www.google.com (142.250.180.164) 56(84) bytes of data.
64 bytes from mil04s44-in-f4.1e100.net (142.250.180.164): icmp_seq=1 ttl=117 time=5.76 ms
64 bytes from mil04s44-in-f4.1e100.net (142.250.180.164): icmp_seq=2 ttl=117 time=6.11 ms
64 bytes from mil04s44-in-f4.1e100.net (142.250.180.164): icmp_seq=3 ttl=117 time=5.99 ms
64 bytes from mil04s44-in-f4.1e100.net (142.250.180.164): icmp_seq=4 ttl=117 time=5.87
Check that Internet access is available (http and https).
Type cd /tmp then wget www.google.it, type ll to make sure that the file index.html was created.
Internet connection should always be available, to perform (among other things):
License installation (performed by i-Vertix personnel)
Plugin Packs installation (performed by i-Vertix personnel)