Configuring Central and Poller
In this chapter, you will find information on how to quickly configuring Central Manager and Smart Poller.
Import virtual machine
Once the ova has been downloaded, import the Central Manager and Smart Poller image into VMware or your hypervisor.
Start the vm and wait for the login screen.
See the complete procedure for importing the virtual machine
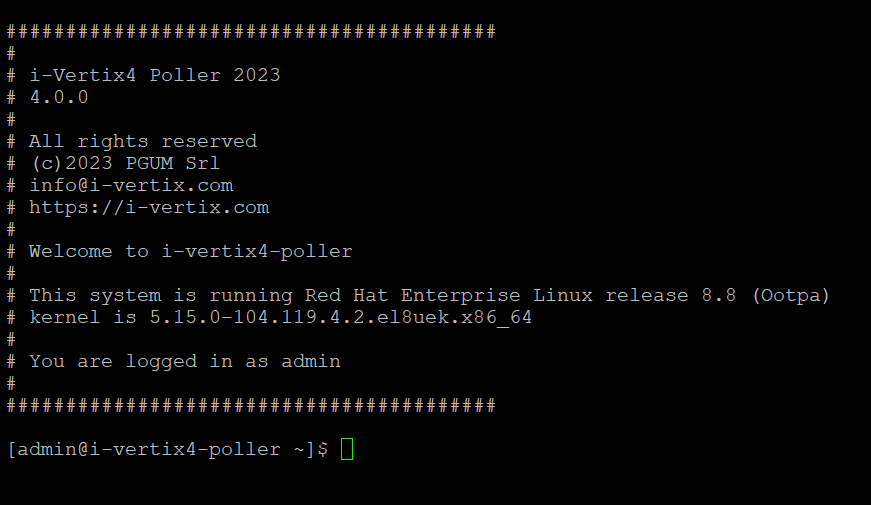
First Login to VMs
You will need to log into i-Vertix Monitoring console to configure the network settings, using the following credentials:
User: 'admin'
Password: 'changeme' (to be changed as soon as possible)
See the complete procedure for first Login to VMs
Network configuration
Network configuration is a key step in using the monitoring service correctly, so assign a correct IP address to the Central Manager and Smart Poller.
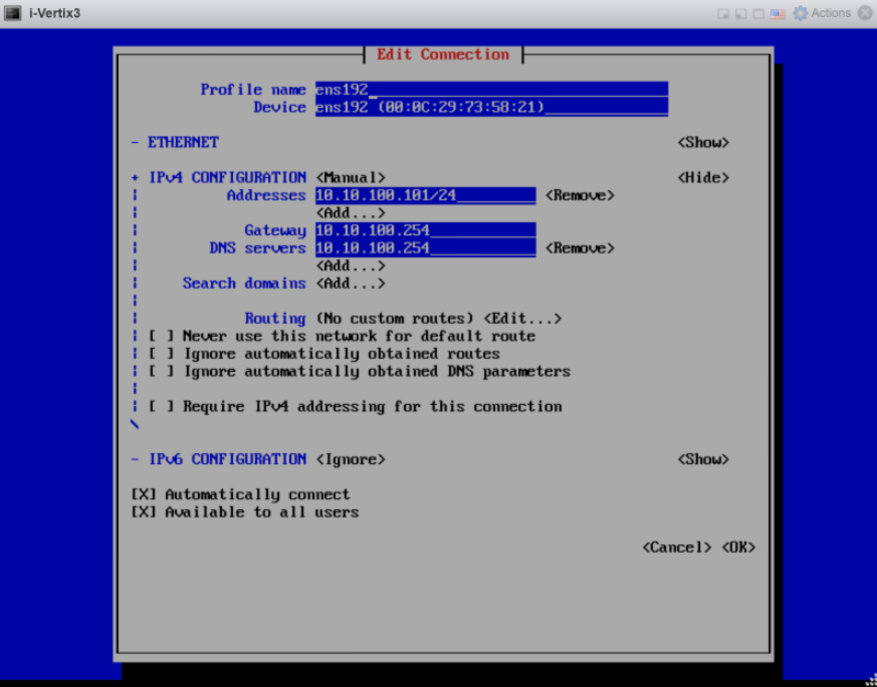
See the comple procedure for network configuration
Activate the license
To activate your licence, provide i-Vertix with the necessary information as described in the procedure Activate the license and download when ready.
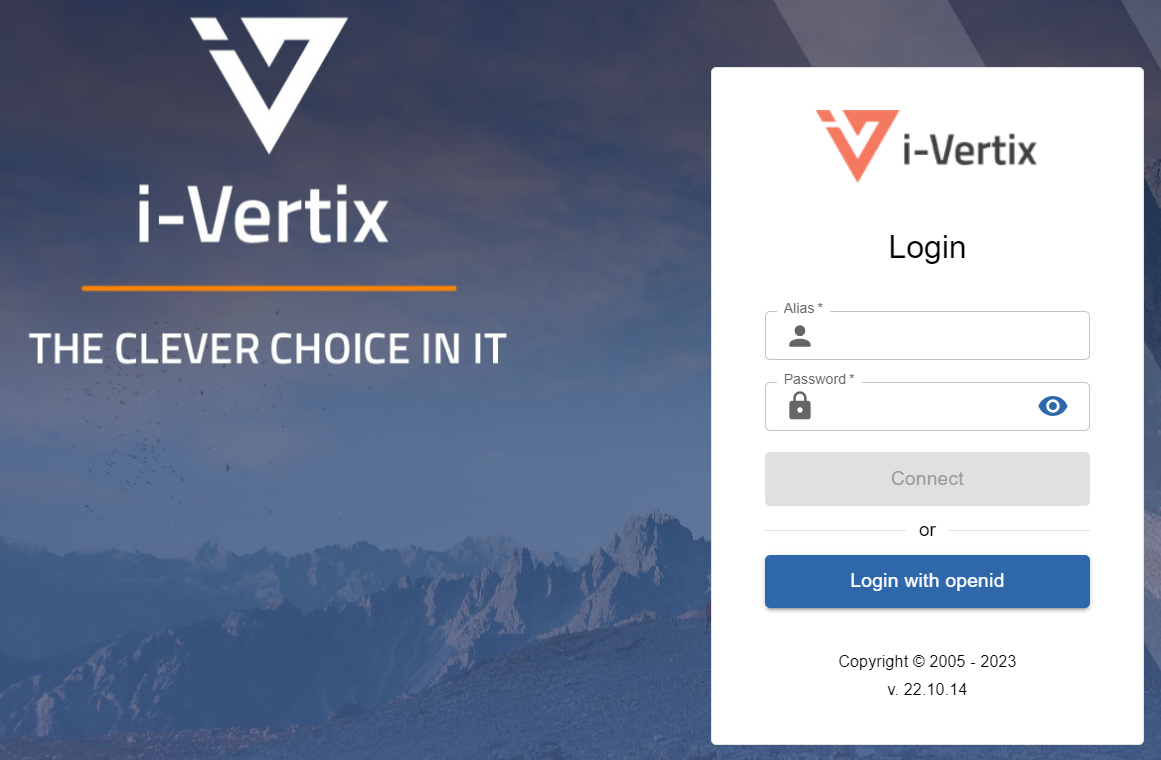
Access to Web console
Once the license is activated, you can access the Central Manager web console.
Open your favourite browser and enter the IP of the Central Manager, you can log in using the default credentials:
Username: admin
Password: ChangeMe$2024