Upgrade from i-Vertix 4.2
This guide requires your system to be on version 4.2. If you need to upgrade from an older version, please contact us via support@i-vertix.com.
Prerequisites
Before attempting any upgrade, please make sure to create a snapshot or a backup of your i-Vertix Central Virtual Machine and any other Machine involved.
To upgrade the systems, a stable internet connection is required on the Central and on each Poller.
Prepare the Upgrade
Start by logging in the system using ssh. The user needs to be able to run commands with sudo.
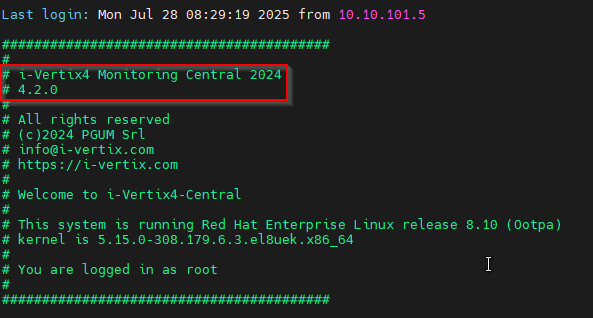
Make sure that the version reported in the login banner is 4.2.0.
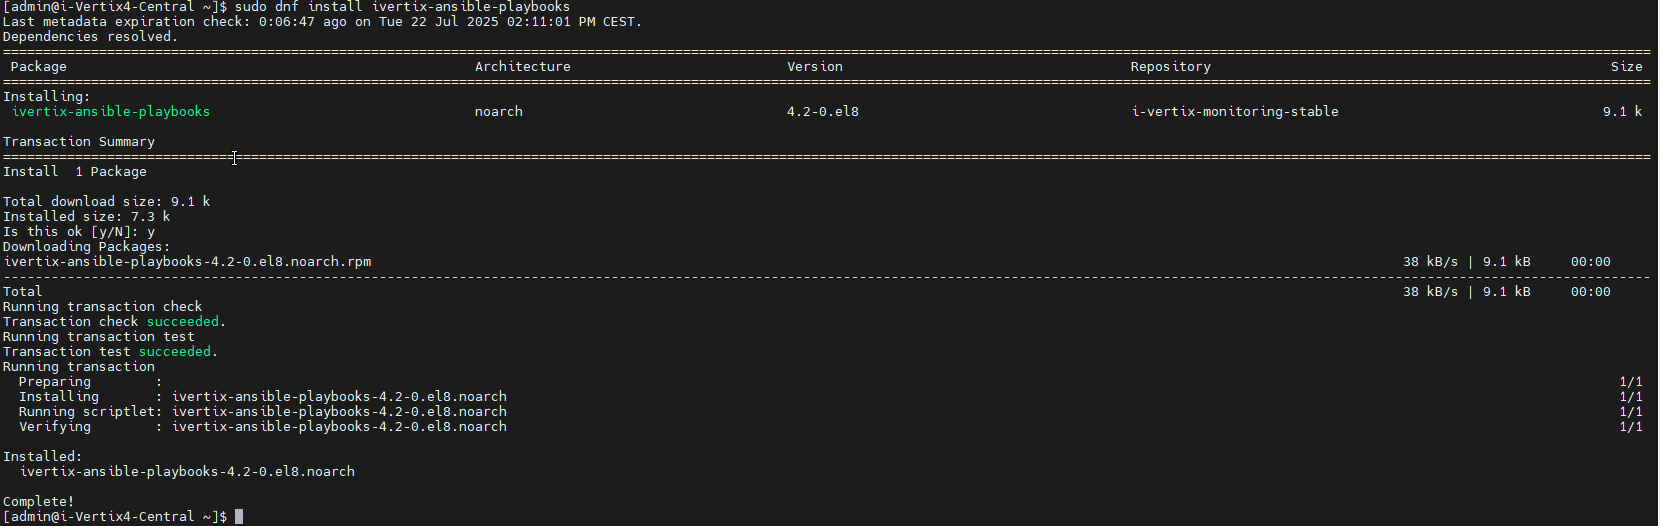
Install the automated upgrade scripts with following command:
sudo dnf clean all && sudo dnf install --repo=i-vertix-monitoring-stable ivertix-ansible-playbooks
In case some questions are asked during the installation, please reply y (type y and confirm with Enter).
Upgrade Central Server
Upgrade Step 1
Launch the first step of the Central system upgrade with following command:
sudo ansible-playbook /opt/i-vertix/scripts/ansible/upgrade-i-vertix-4.3/upgrade-central-step1.yml
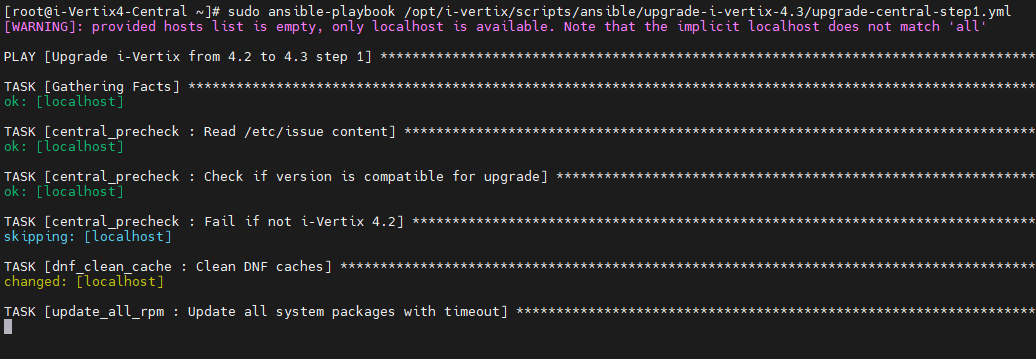
Since the scripts upgrade the entire system and download many packages, the process may take up to 45 minutes or longer, depending on the hardware resources and the internet connection of the Central Monitoring server.
After the execution, the report on performed operations (PLAY RECAP) should look like this:

Application Upgrade
After the first upgrade step is complete you need to perform the application upgrade.
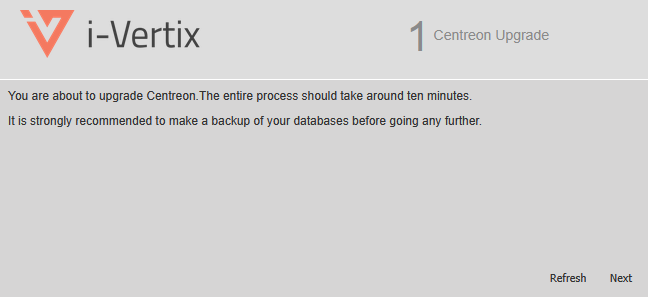
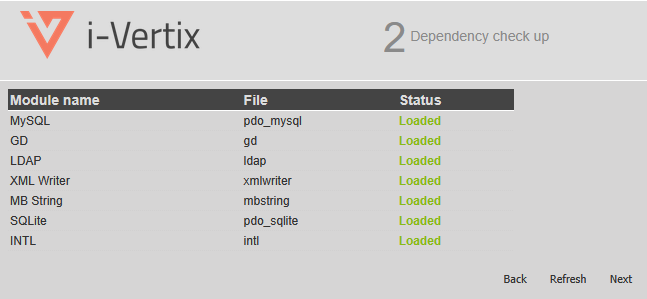
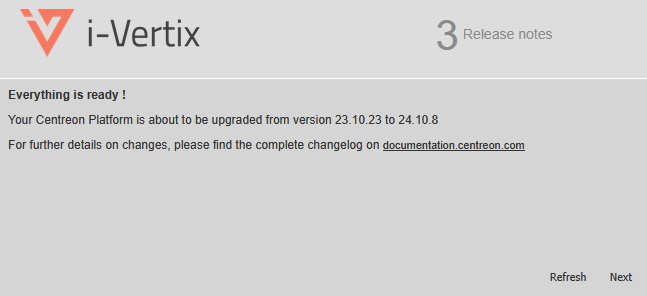
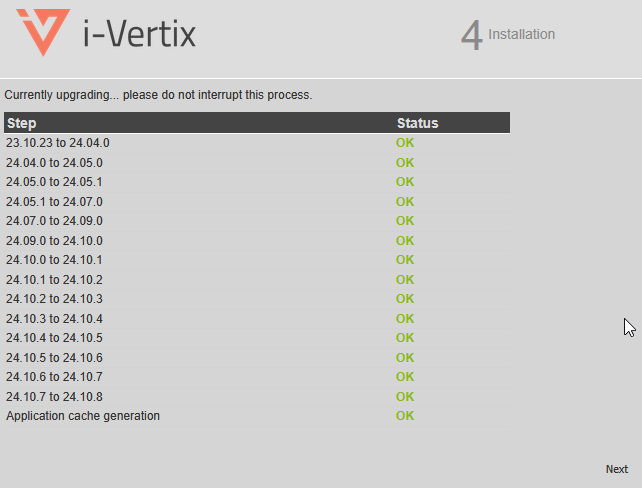
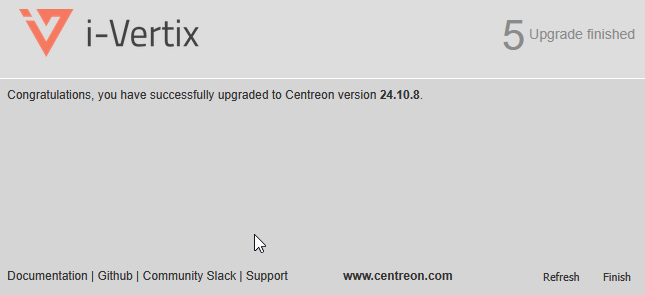
Upgrade Wizard
Open the Monitoring Interface in your Browser and step through the displayed upgrade wizard.
You must be logged out to access the wizard.
Application Upgrade Wizard
Update Modules
Then, login with an administrator account and navigate to AdministrationExtensionsManager.
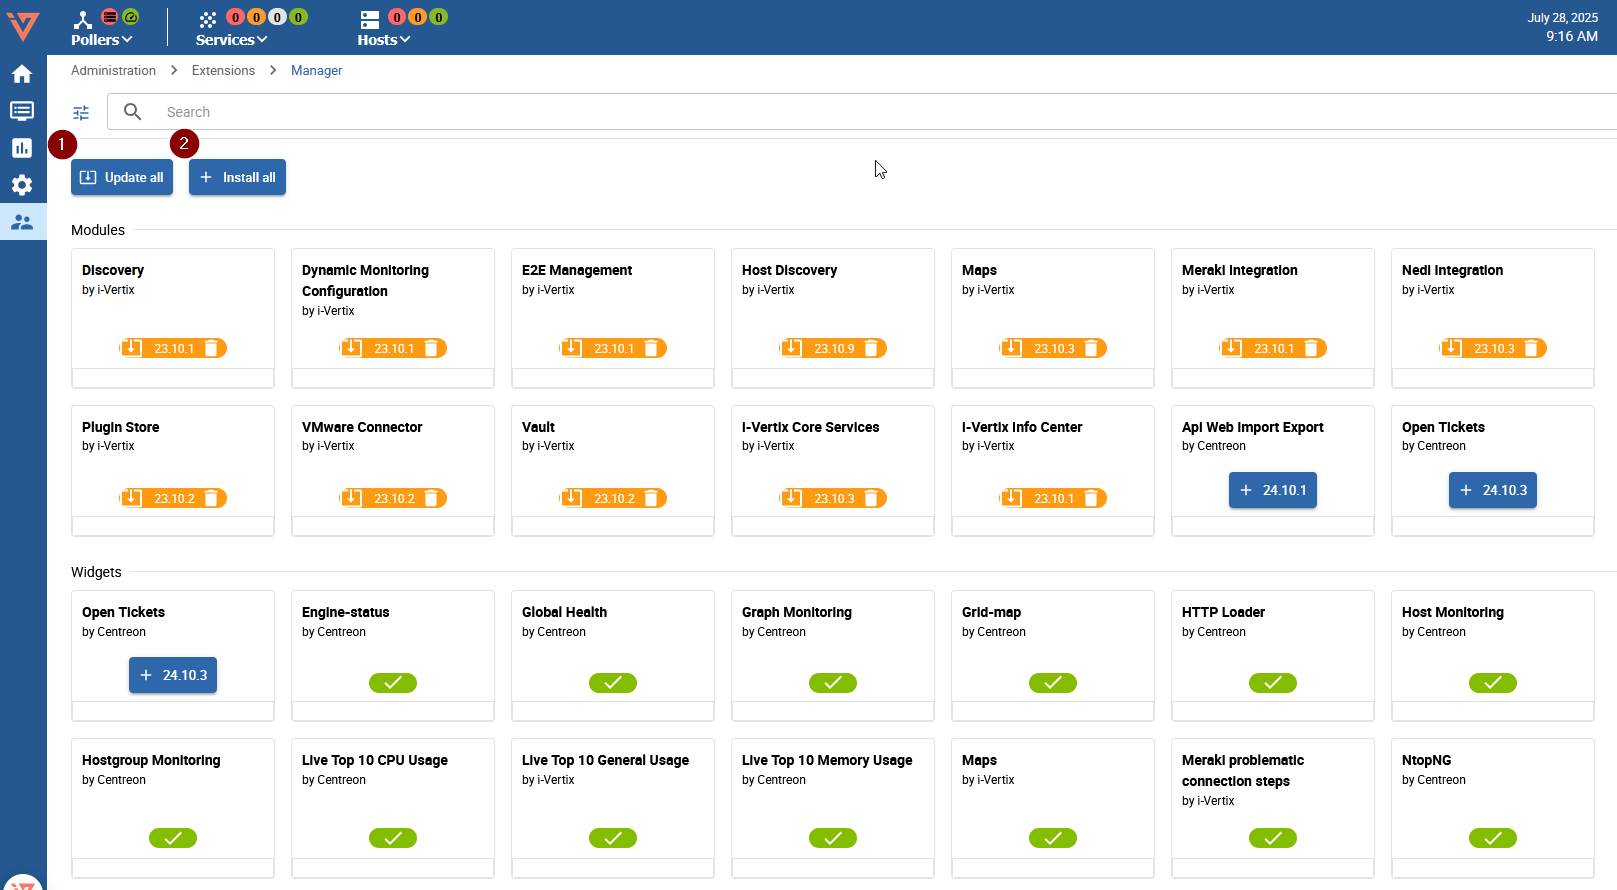
- 1 Click the
Update allbutton to update all installed ModulesThe modules are updated simultaneously, it may take some time until every module is updated.
- 2 Click the
Install allbutton to install all available Modules
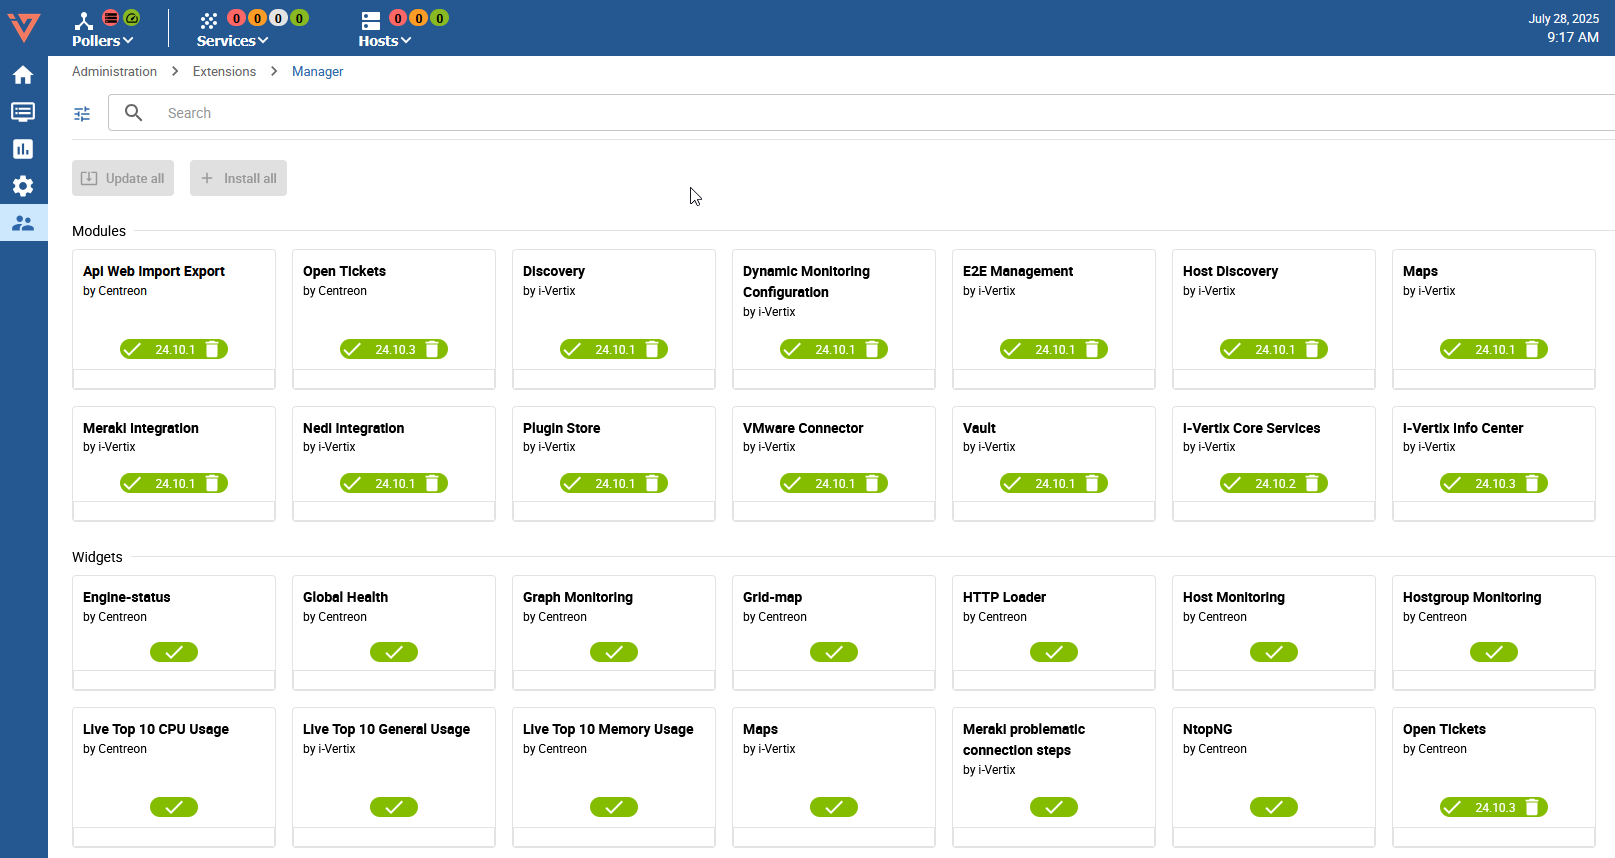
After the updates are complete, every module should turn green (up-to-date).
Upgrade Step 2
Return to the Central's CLI and run the next upgrade script:
sudo ansible-playbook /opt/i-vertix/scripts/ansible/upgrade-i-vertix-4.3/upgrade-central-step2.yml

Upgrade Step 3
After Step 2 is finished, we need to upgrade the MariaDB database.
The procedure varies depending on whether the database is embedded (i.e. located on Central server) or deployed on a remote server. See Remote Database Management architecture for more details.
- Embedded Database
- Remote Database
In cases where the database is deployed on the same host as the monitoring application, run:
sudo ansible-playbook /opt/i-vertix/scripts/ansible/upgrade-i-vertix-4.3/upgrade-central-step3.yml
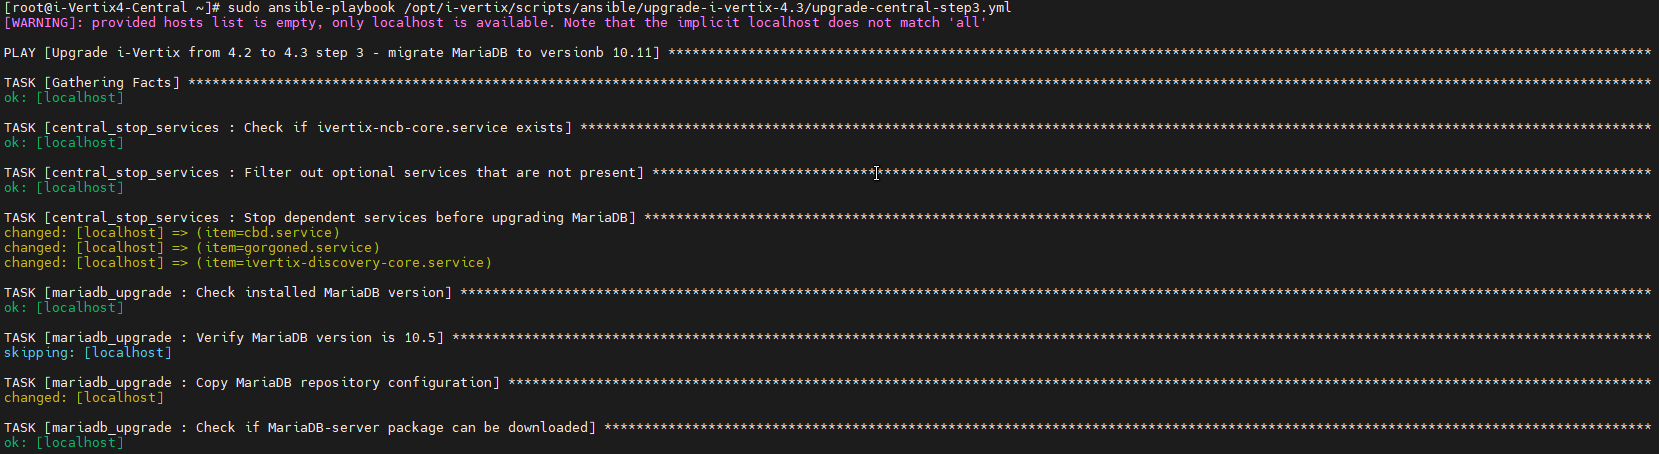
After the execution, the report on performed operations (PLAY RECAP) should look like this:

If the database is located on a remote server, we need to run a different upgrade script.
Please contact us at support@i-vertix.com for more information.
Finalize Upgrade
Reboot the Central server using following command:
sudo reboot
It is strongly suggested to clean the Browser cache before logging in again to avoid errors on the web application.
Upgrade Pollers
The poller upgrade should be performed after the Central server upgrade is complete and is relying on the same Prerequisites as the Central server upgrade.
Automatic Upgrade
To upgrade all Pollers, we need to run the following command in the Central server CLI:
sudo ansible-playbook /opt/i-vertix/scripts/ansible/upgrade-i-vertix-4.3/upgrade-poller.yml
By default, the automated script will upgrade 5 pollers simultaneously until every single configured poller is upgraded.
You can also upgrade a single Poller by adding the option -l <poller name>:
sudo ansible-playbook /opt/i-vertix/scripts/ansible/upgrade-i-vertix-4.3/upgrade-poller.yml -l Poller1
Verify Poller Upgrade
To verify that the pollers are working after the upgrade, log in to the monitoring system with an administrator account and navigate to ConfigurationPollers.
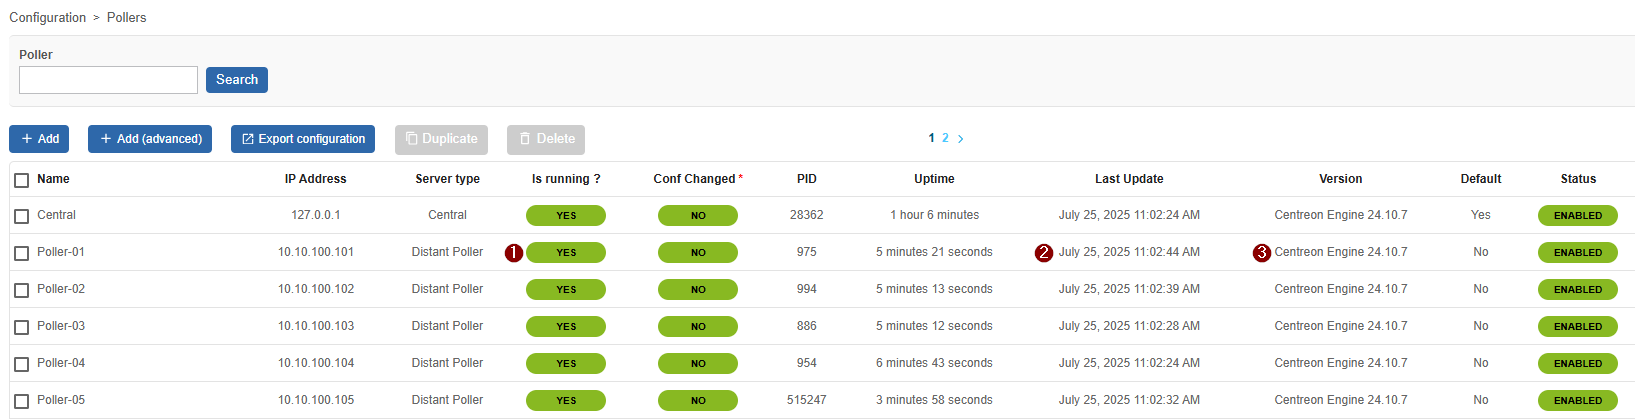
Check the following properties:
- 1 is the poller running?
- 2 is the poller sending data to the central monitoring server?
- 3 is the poller updated to the new major version (24.10)?
If the poller is not running, check the upgrade log for any errors.
You can also try to export the monitoring configuration to the poller.
When doing so, make sure to select Restart instead of Reload for the Restart Monitoring Engine option.
Each Poller may take some time to send the collected monitoring data after the system upgrade.
If not every 2 Last Update is up-to-date during your initial check, wait a few minutes and verify again. By then, all data should be synced.