Service Discovery
Manual Discovery
From the sidemenu, select Configuration > Services > Manual Discovery to enter the manual discovery dedicated page.

To simply start a service discovery scan, select a host and a discovery template (which are installed by our Plugin Store). You can pre-filter hosts by selecting a poller and/or a hostgroup.
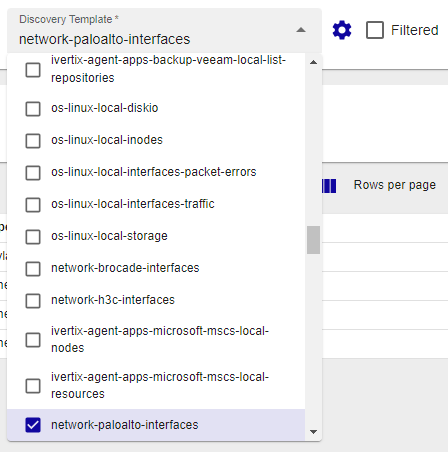
By enabling the Filtered flag next to the discovery template lookup, only relevant discovery templates depending on your selected host are available to select. Otherwise all installed discovery templates are selectable.
Filtered checked:

Filtered not checked:
Discovered services
After hitting Scan, the scan results are shown below.
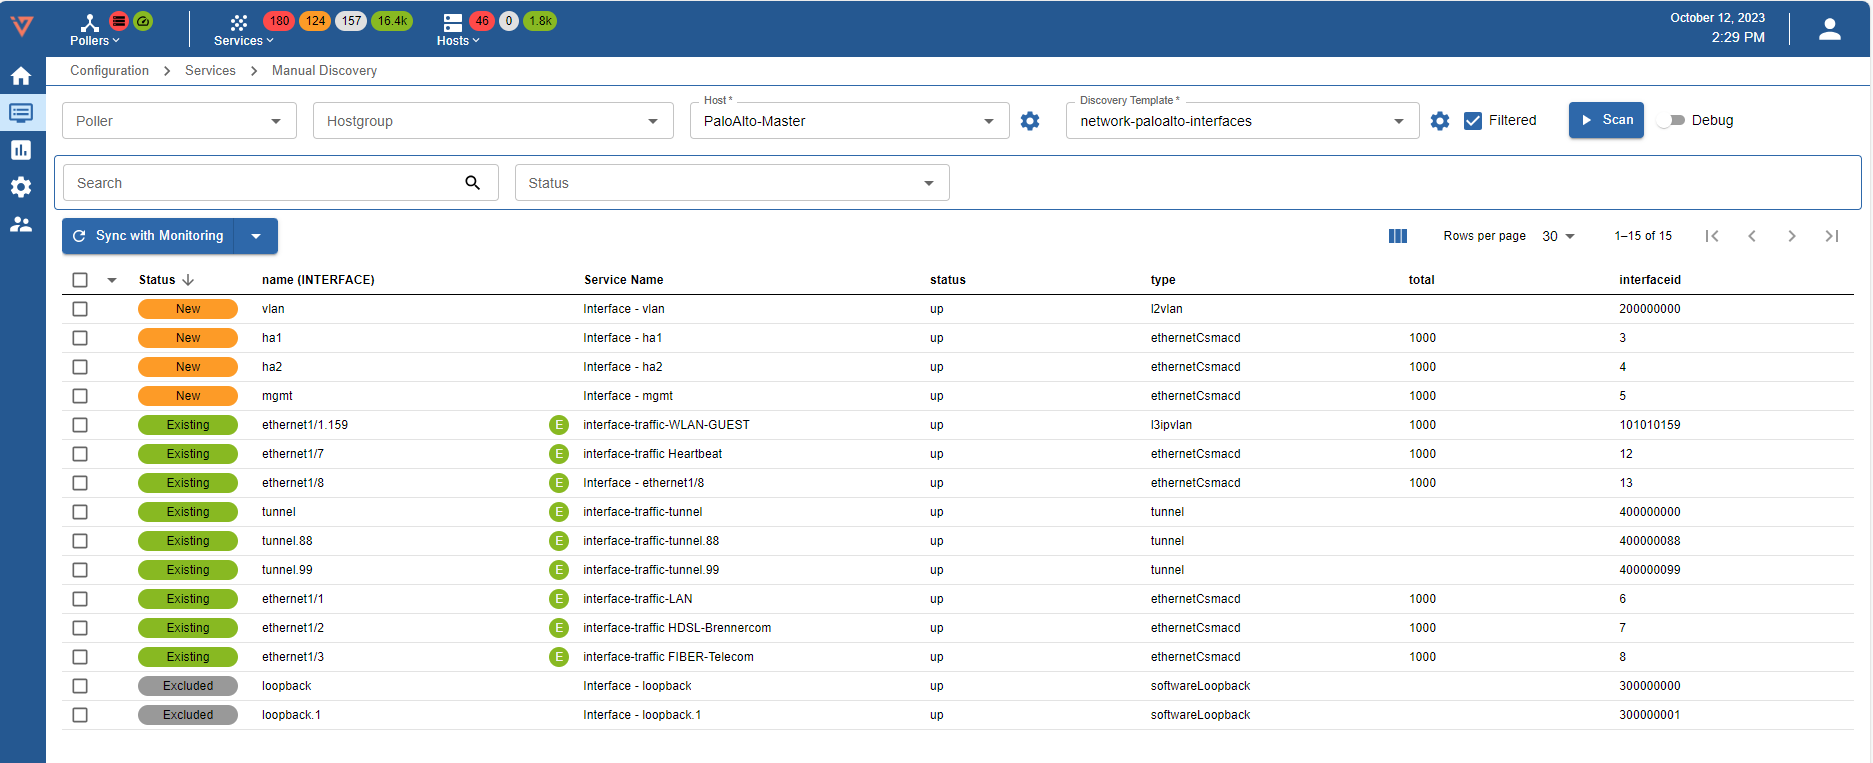
During scanning, the SCAN button is replaced by the ABORT button, which can be pressed to cancel the scan.
A scan result (service) always has a status, which indicates it's current monitoring configuration situation (1st column), a key value (2nd column), a generated service name (3rd column, defined by the discovery template) and other values reported by the scan.
Status
The status of a result indicates it's current monitoring situation:
- new: indicates that the service is not yet monitored and is ready to be synced (created)
- excluded: indicates that the service was excluded by the discovery template. This is most likely a default configuration set by our team to prevent syncing of unnecessary services.
- existing: indicates that the service is already present in your monitoring configuration for the given host
Filters
Results (services) can be filtered using the Search and the Status filters.
- Search: filters results by service name and all other available values given by the scan
- Status: filters results by their monitoring-based status
Toggle columns
You can show and hide all non-relevant columns using following control:

Syncing services
Sync selected
Check any services you want to add to your monitoring configuration and hit Sync with Monitoring. All checked services are created shortly after. If you encounter a problem with any service you can expand the sync-results and identify the problem.
Sync all
By clicking on the expand button on the right of Sync with Monitoring you can choose between Sync selected services or Sync all services. The first one is the default option and equal to clicking the Sync with Monitoring button. By choosing Sync all services, all services are created (also services with status excluded). Again in any case of failure, you can analyze the problem of a given service by expanding the sync-results.
To see created services, head over to Configuration -> Services -> Services by host using the sidemenu.
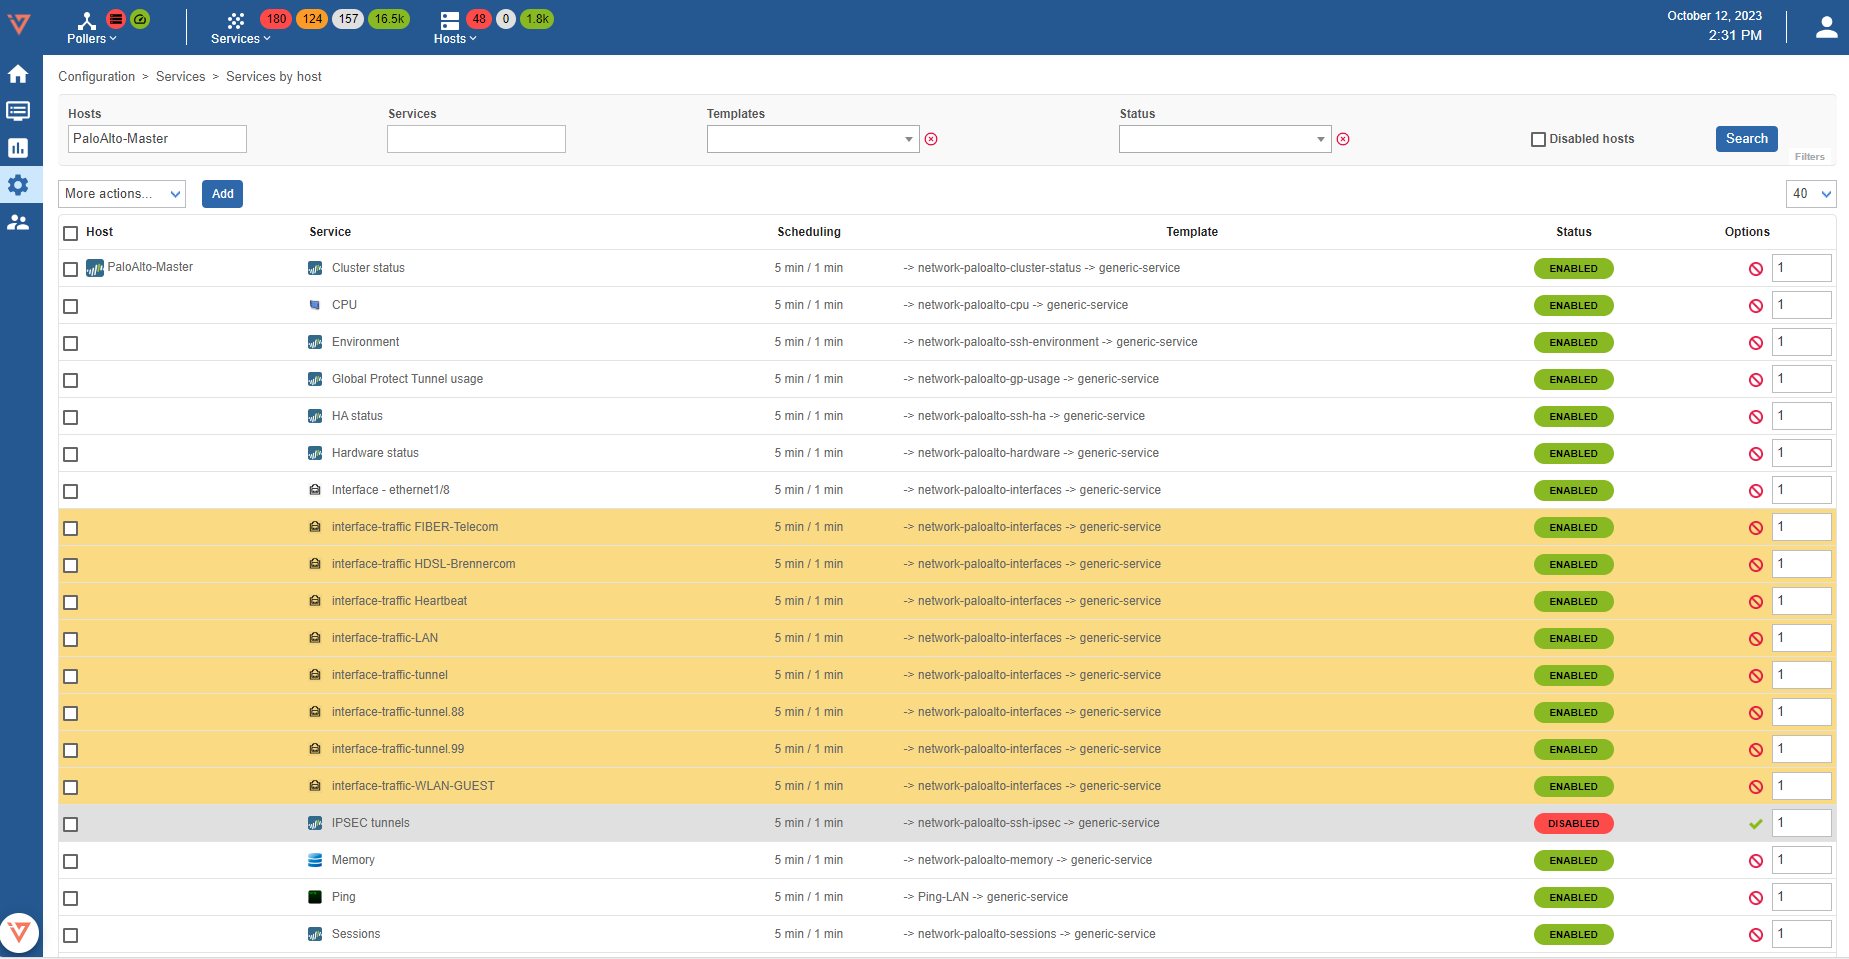
To find your services you just created it's best practice to use the page's filters. Insert the hostname in the Hosts filter and choose the service template using the Template lookup.
Troubleshooting
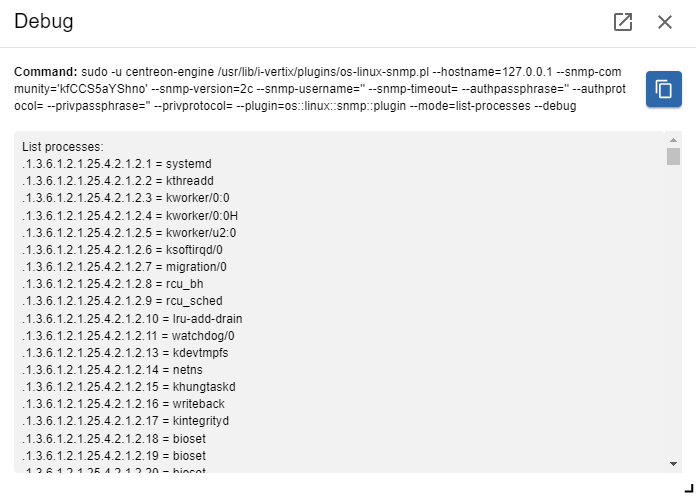
It is possible to easily activate the debug mode of our service discovery by enabling the debug switch right next to the scan button.
After enabling debug click again on scan. A moveable popup will open which displays the executed command as well as the command result.
Using the debug information you can analyze and identify problems of a failed scan.
By clicking the button next to close in the top right corner of the debug popup, the inbuilt popup will close and a new browser window will open with the debug information. This may be useful for your workflow if you need to deeper analyze various scans and different scan-configurations.
Auto Discovery Service Job
Overview
An auto discovery service job allows to automatically identify possible services and add them to your monitoring configuration in a flexible way.
To create such jobs, go to Configuration > Services > Auto Discovery Service Jobs using the sidemenu and click on the Add button.
Create Job
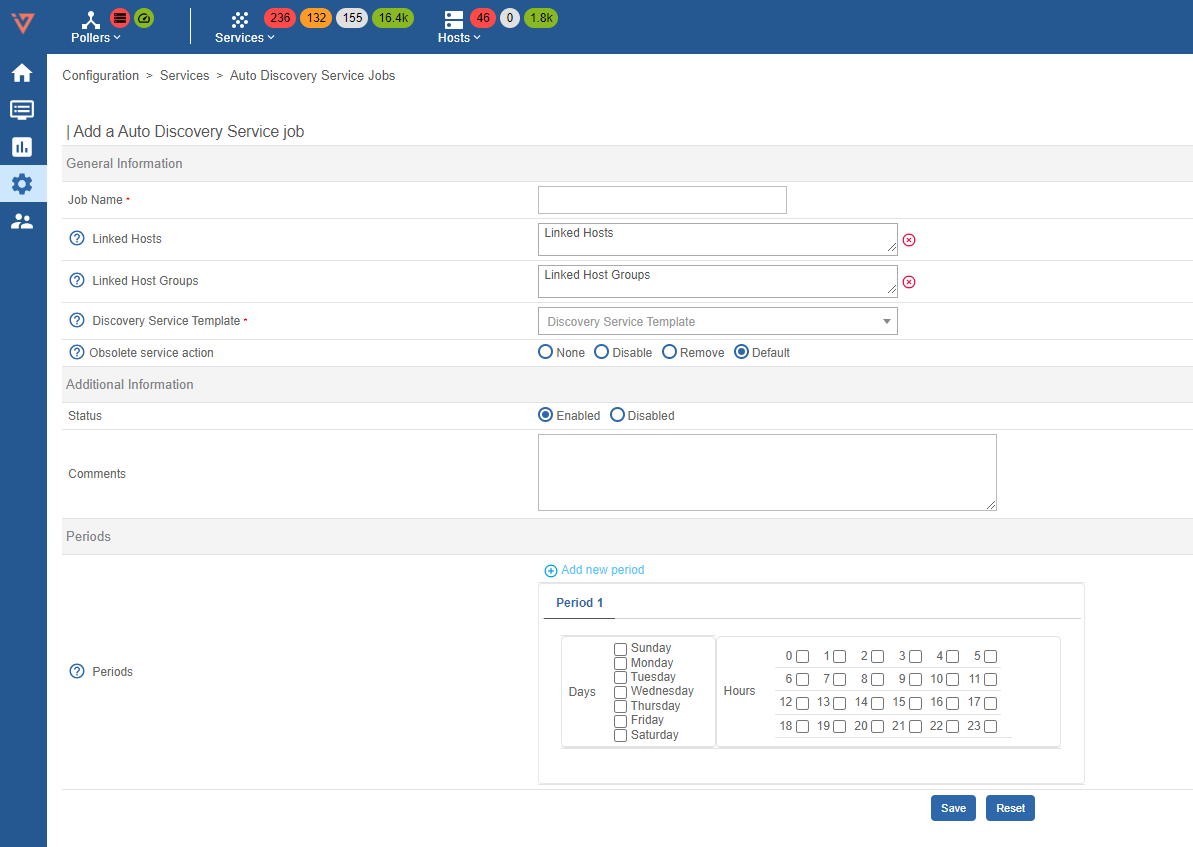
General information
- Job name: descriptive name to identify job
- Linked Hosts: target hosts on which the discovery should be performed
- Linked Host Groups: target host groups on whose contained hosts the discovery should be performed
- Discovery Service Template: the discovery template (discovery configuration) used for the scan. In general, it defines the command which is executed, the service name and relevant service macros
- Obsolete service action: defines the action to be carried out when a configured service is no longer available in the scan results. Choosing Default uses the global discovery settings.
Additional information
- Status: enable or disable job
- Comments: notes to further describe job
Periods
- Periods: set days and hours for the Auto Discovery. Leave days and hour empty to use Auto Discovery Defaults. Press Add new period to schedule the execution of jobs over several time periods.
Click Save to add the job
Job Execution
Jobs run automatically, depending on their configured schedule.

It is also possible to force an immediate job execution by selecting one or more the desired jobs and choosing Schedule immediate discovery (Forced) from the More Actions drop down of the Auto Discovery Service Jobs List