License activation
i-Vertix ITAM needs a working Internet access to activate the license.
Obtain the UUID
-
Access the i-Verix ITAM CLI from the Hypervisor or through SSH
-
Launch the command
menuif you are not already viewing the menu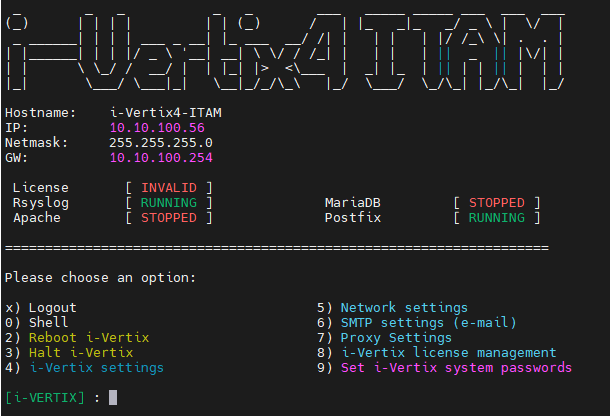
-
Choose
8) i-Vertix license management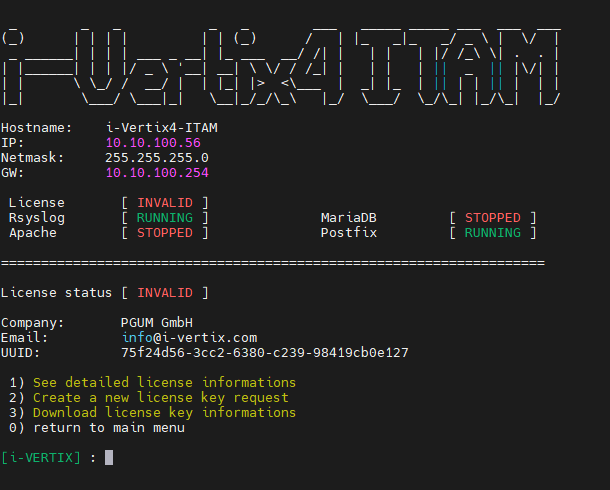
-
Copy the Unique Identifier (UUID) associated with the VM
-
Send an email to i-Vertix technical support support@i-vertix.com with:
-
Subject: License request
-
Email body that includes
- the UUID
- your company name
- the email address of the person/team the license has to be associated with
As in the example the information will be:
- UUID=df604d56-1dca-ed6f-851b-c84a680aec78
- Company name=PGUM GmbH
- E-mail=info@pgum.eu
-
Activate the license
You will receive an email from i-Vertix tech support that confirms the license activation.
Follow the instructions in the email and download the license using the following steps (most of them are the same as above):
-
Access Central Manager CLI and authenticate via SSH
-
Launch the command menu
-
Select
8) i-Vertix license management -
Type
3) Download license key information -
If the vm can go on the internet (tcp 80, 443 enabled) it will download the license and install it. Command lines will appear and then press "Enter"
-
Type
0to go back to the main menu -
License status field will change from:
License [ INVALID ]toLicense [ VALID ] -
Type
2) Reboot i-Vertixto reboot the VM so that all the services will be started
The system is now ready. Proceed with the first access to the web console.