Import Virtual Machine
i-Vertix ITAM OVA
i-Vertix support provides a ready-to-use virtual machine. This virtual machine is available in OVA format for VMware environments.
It's based on the Oracle Linux 8 (and all required packages) operating system and includes a i-Vertix ITAM installation that allows you to easily start your asset tracking.
Requirements
Server Requirements (VMs) for VMware
The resources needed for optimal performance depend on the product configuration.
Adding more assets or other configuration options may increase the server and database workload. Therefore, some server configuration adjustments may be necessary to optimize performance for your specific environment.
Database
The database used is MariaDB (10.11.x) and is already included in the Manager System Image.
i-Vertix ITAM recommended specifications
i-Vertix ITAM supports multiple virtualization and hyperscaling platforms including:
| Platform | Support |
|---|---|
| VMware | ⚠️ 6.7 U2 or higher |
| Hyper-V | ✅ yes |
| KVM | ✅ yes |
| Nutanix | ✅ yes |
| Sangfor | ✅ yes |
| AWS EC2 | ✅ yes |
| Azure VM | ✅ yes |
- CPU: 4 vCPU
- RAM: 8 GB
- HDD: 150 GB or greater
Steps to import a VM in VMware
VMware Requirements
i-Vertix Central and Pollers support multiple virtualization and hyperscaling platforms. These are VMware requirements:
| Platform | i-Vertix 4 |
|---|---|
| VMware | 6.7 or higher |
Downloading the virtual machine
-
Download the ".ova" files (as per email received); you can have an OVA for the Central Management, an On OVA for a poller or both.
-
Import the ".ova" files on your VMware infrastructure.
Import the OVA in VMware
Log in to your vCenter or VMWare infrastructure and:
- Right-click Host in the VMware Host Client inventory and select Create/Register VM. The New Virtual Machine wizard opens.
- On the Select creation type page, select Deploy a virtual machine from an OVF or OVA file and click Next.
- On the Select OVF and VMDK files page, provide a unique name for the virtual machine.
- To select an OVF and VMDK, or an OVA file to deploy, click the blue panel. Your local system storage opens.
- Select the file that you want to deploy your virtual machine from and click Open. The file you selected appears in the blue pane. Then click Next.
- Click Next.
- On the Select storage page, select the storage type for the virtual machine. Select a datastore from the list and click Next.
- On the Deployment options page, select the network mappings, disk provisioning, and whether you want the virtual machine to power on after deployment.
- Click Next.
- On the Ready to complete page, review the details and click Finish.
Be sure to place the VM in the correct VLAN of your infrastructure.
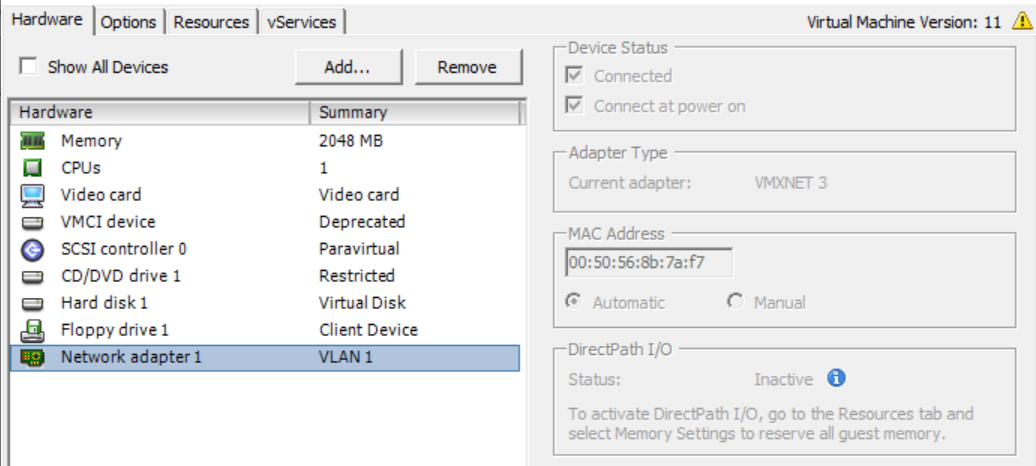
Virtual Hardware configuration
Once the OVA has been imported into VMWare, Virtual Hardware (CPU and Memory) has to be configured.
-
Browse to the virtual machine in the vSphere Client.
-
Right-click and select Edit Settings.
-
Edit the CPU Resources (as requirements).
-
Edit the Memory Resources (as requirements).
-
Edit Network (according to your network ).
-
Click OK
Start the vm and wait for the login screen.
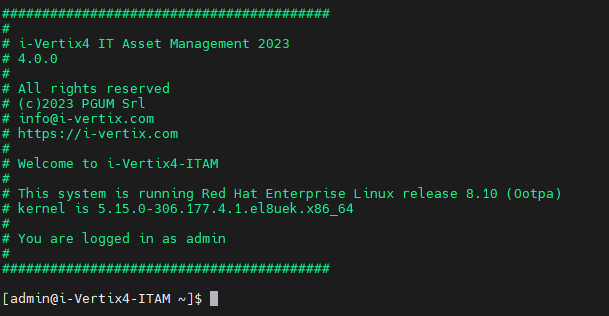
Now you can start to configure the VM.